


Introduction
LAMP is an acronym for a popular software stack used for web application development. It stands for Linux, Apache, MySQL, and PHP.
Linux: The operating system on which the stack is built, providing a stable and secure foundation for running web applications.
Apache: The web server software that receives requests from web clients and serves up web content in response.
MySQL: A relational database management system (RDBMS) used to store and manage the data for web applications.
PHP: A programming language used to write the application logic and generate dynamic web content.
Together, the LAMP stack provides a comprehensive and open-source environment for developing, testing, and deploying web applications. It is widely used and supported, making it a popular choice for developers and organizations alike. Other variations of the stack exist, such as LEMP (which replaces Apache with the Nginx web server), and WAMP (which runs on a Windows operating system instead of Linux).
In this demo, we will automate the process of installing and configuring Wordpress on an ubuntu server. WordPress is considered a LAMP application because it requires a software stack that includes Linux, Apache, MySQL, and PHP to run.
Prerequisites:
A laptop: we used the macbook m1 chip for this demo.
Vagrant: click here to get started with installing and using vagrant.
Follow the steps below to achieve this task:
Step 1: create directory and VagrantFile for the project.
To create the directory and vagrantfile run the following commands:
#create directory
mkdir vms
cd vms
mkdir wordpress
cd wordpress

commands
Step 2: specify the configuration of the infrastructure in the Vagrantfile.
Next, we need to declare our infrastructure in the Vagrantfile. Vagrantfile is a configuration file used by the Vagrant tool to define and provision virtual machines (VMs) for development and testing purposes.
i. Run the command below to open the vagrantfile in the vs code editor.
#create file
touch Vagrantfile

#open file in VS code
code Vagrantfile
Fundamental configurations:
choose the box for vm — we will use
spox/ubuntu-armfor this demonstration.an ip address to access our website
(optional) Boost RAM
Provider — VMWare
Vagrant.configure("2") do |config|

  config.vm.box = "spox/ubuntu-arm"
  config.vm.network "private_network", ip: "192.168.35.10"
  config.vm.network "public_network"

  config.vm.provider "vmware_desktop" do |vmware|
    vmware.gui = true
    vmware.memory = "1024"
  end

end
ii. Click here and follow the steps to manually setup Wordpress on an ubuntu server,. However, we are looking to automate this setup with vagrant using theVagrantfile. This process of setting up and configuring computing resources, such as servers, storage, networks, and software, to make them available for use is referred to as automated provisioning.
Copy the the code below and paste it at the end of the Vagrantfile.
config.vm.provision "shell", inline: <<-SHELL
     sudo apt update
     sudo apt install apache2 \
                 ghostscript \
                 libapache2-mod-php \
                 mysql-server \
                 php \
                 php-bcmath \
                 php-curl \
                 php-imagick \
                 php-intl \
                 php-json \
                 php-mbstring \
                 php-mysql \
                 php-xml \
                 php-zip -y

     sudo mkdir -p /srv/www
     sudo chown www-data: /srv/www
     curl https://wordpress.org/latest.tar.gz | sudo -u www-data tar zx -C /srv/www

     touch /etc/apache2/sites-available/wordpress.conf

      echo '<VirtualHost *:80>
      DocumentRoot /srv/www/wordpress
      <Directory /srv/www/wordpress>
          Options FollowSymLinks
          AllowOverride Limit Options FileInfo
          DirectoryIndex index.php
          Require all granted
      </Directory>
      <Directory /srv/www/wordpress/wp-content>
          Options FollowSymLinks
          Require all granted
      </Directory>
  </VirtualHost>' > /etc/apache2/sites-available/wordpress.conf


     sudo a2ensite wordpress
     sudo a2enmod rewrite
     sudo a2dissite 000-default
     sudo service apache2 reload


     mysql -u root -e 'CREATE DATABASE wordpress;'
     mysql -u root -e 'CREATE USER wordpress@localhost IDENTIFIED BY "admin123";'
     mysql -u root -e 'GRANT SELECT,INSERT,UPDATE,DELETE,CREATE,DROP,ALTER ON wordpress.* TO wordpress@localhost;'
     mysql -u root -e 'FLUSH PRIVILEGES;'


     sudo -u www-data cp /srv/www/wordpress/wp-config-sample.php /srv/www/wordpress/wp-config.php

     sudo -u www-data sed -i 's/database_name_here/wordpress/' /srv/www/wordpress/wp-config.php
     sudo -u www-data sed -i 's/username_here/wordpress/' /srv/www/wordpress/wp-config.php
     sudo -u www-data sed -i 's/password_here/admin123/' /srv/www/wordpress/wp-config.php


   SHELL

end
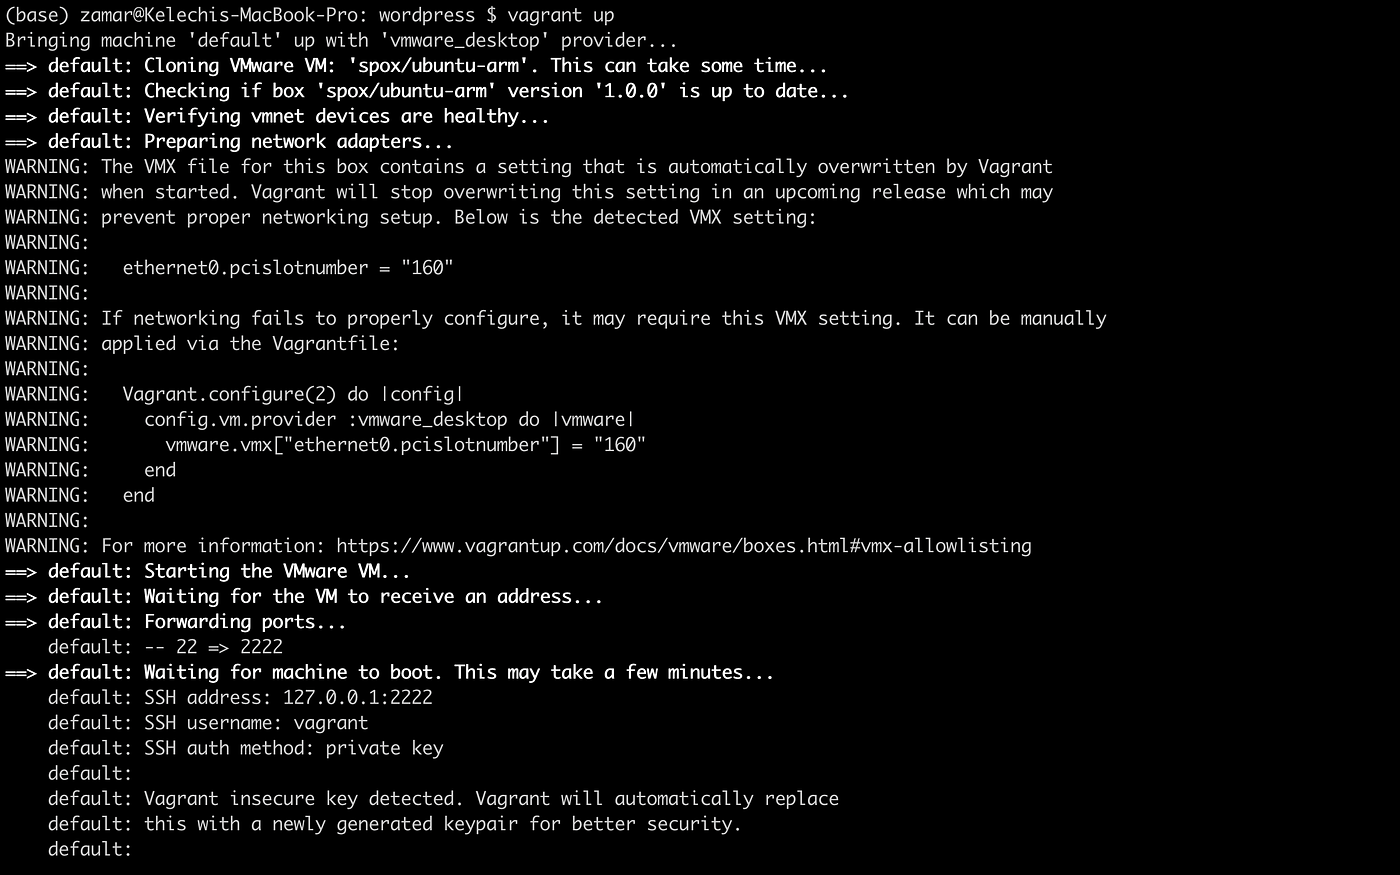
To deploy the stack, run the following command:
vagrant up
Step 3: Verify the setup
In our configuration file, Vagrantfile, we specified the static ip address of the server to be 192.168.35.10.
Next, we copy and paste the ip address in the browser.
As seen in the image below, Wordpress was correctly installed and setup.
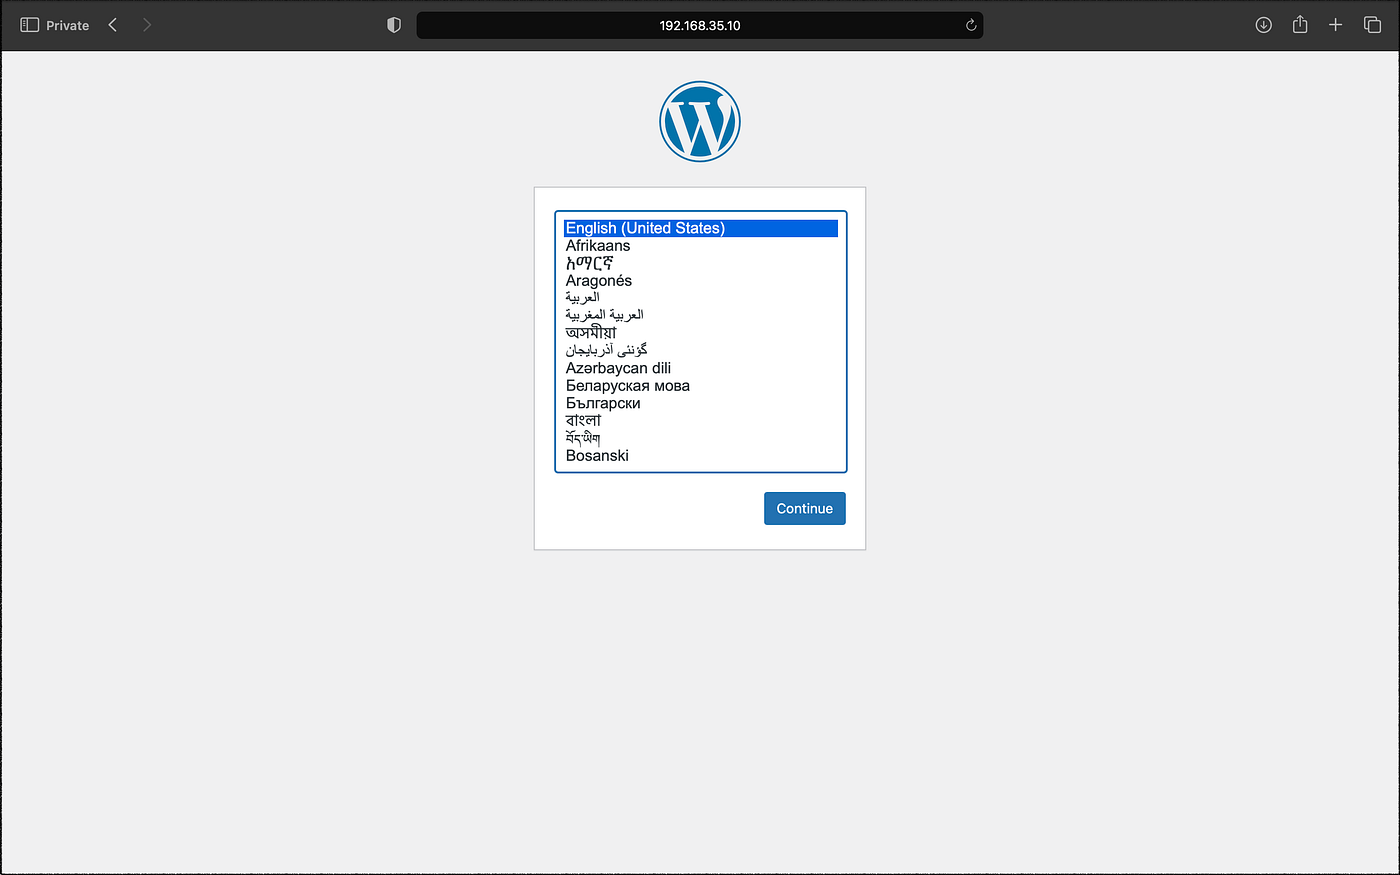
Wordpress landing page
Summary
This article provides a demonstration of automating the process of installing and configuring WordPress on an Ubuntu server using Vagrant and Infrastructure as Code (IaC). It explains the LAMP stack, which consists of Linux, Apache, MySQL, and PHP, and is used for web application development. The article provides step-by-step instructions for creating a directory, Vagrantfile, and configuring the infrastructure using Vagrant to define and provision virtual machines. It also includes a code snippet for automated provisioning and the commands for deploying the stack. The article concludes with instructions for verifying the setup by copying and pasting the IP address of the server into a web browser.